
Onboarding a support worker usually means chasing documents over email, checking that everything's current, filling out a contract in Word, and hoping nothing slips through before their first shift. It's one of the most repetitive jobs in a provider business, and it's exactly the kind of thing your software should be handling for you.
Here's how the whole thing runs inside Astalty, start to finish.
Step 1: Define what documents you collect
Before you onboard anyone, decide what you actually need to gather. Working With Children Checks, NDIS Worker Screening Checks, first aid certificates, qualifications, whatever your organisation requires.
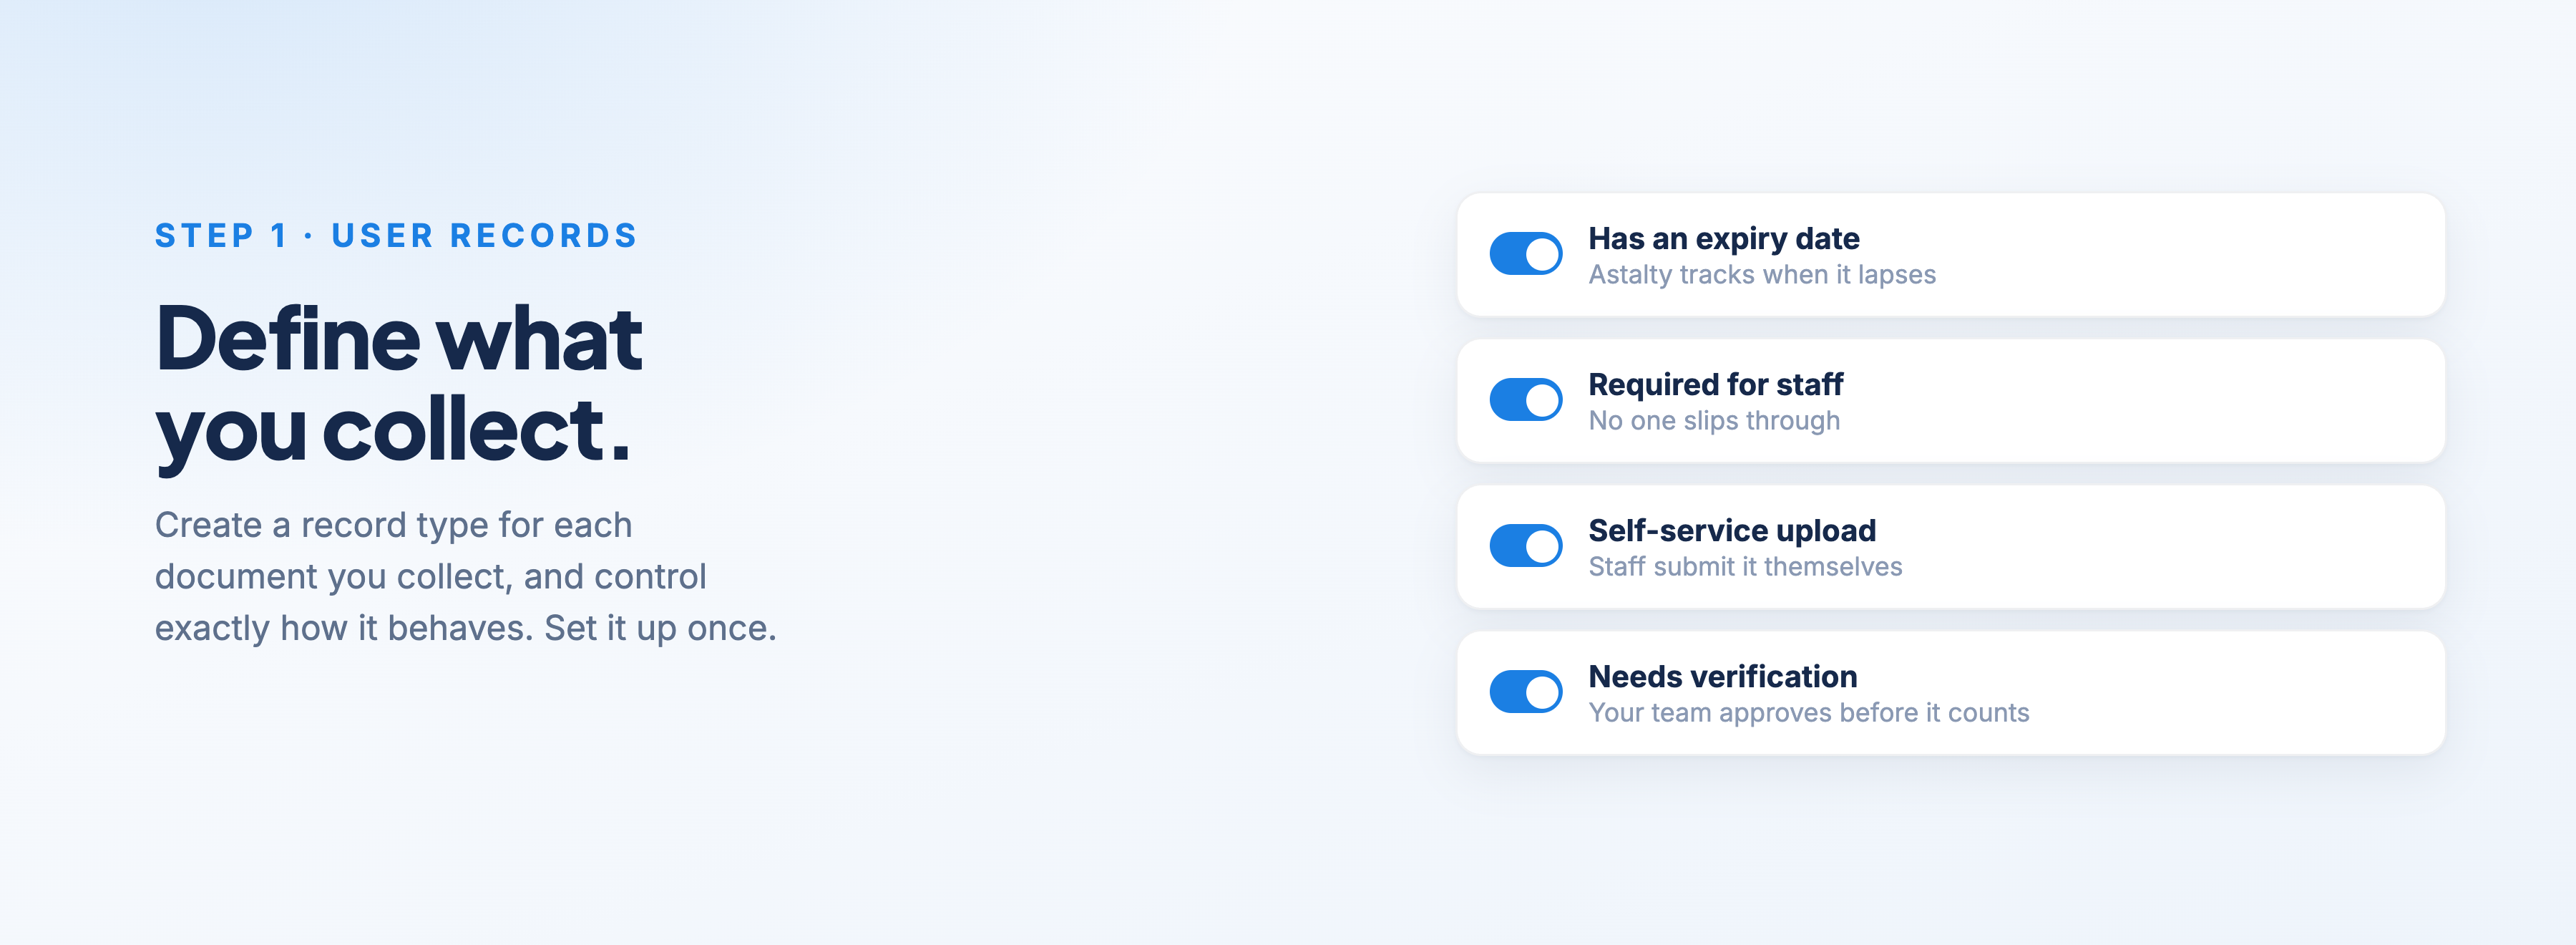
This is all set up through User Records. When you create a record type, you control exactly how it behaves:
Whether it has an expiry date (so Astalty can track when it lapses)
Whether it's required for all staff
Whether staff can upload it themselves (self-service)
Whether an uploaded document needs verification before it's approved
Set this up once, and it's ready to go every time you onboard.
Different documents for different groups
Your office staff and your support workers usually need different paperwork. A support worker might need Worker Screening and a WWCC, while an office admin may not require a WWCC. You can handle this with User Groups, then link specific record types to specific groups.
The example the team uses is a "Car Insurance" record: only required for staff who actually drive for work. Same logic applies to any document that only applies to part of your team. You're not forcing everyone to submit things that don't apply to them.
User groups within Astalty allow you to handle the differentiation between required documents for various roles.
Step 2: Invite the user
Once your record types are defined, you invite the staff member. Head to Users, click Invite User, and fill in their details. They'll get an invitation link, set their own password, and they're in.
Step 3: Staff upload their own documents
This is where the email back-and-forth disappears.
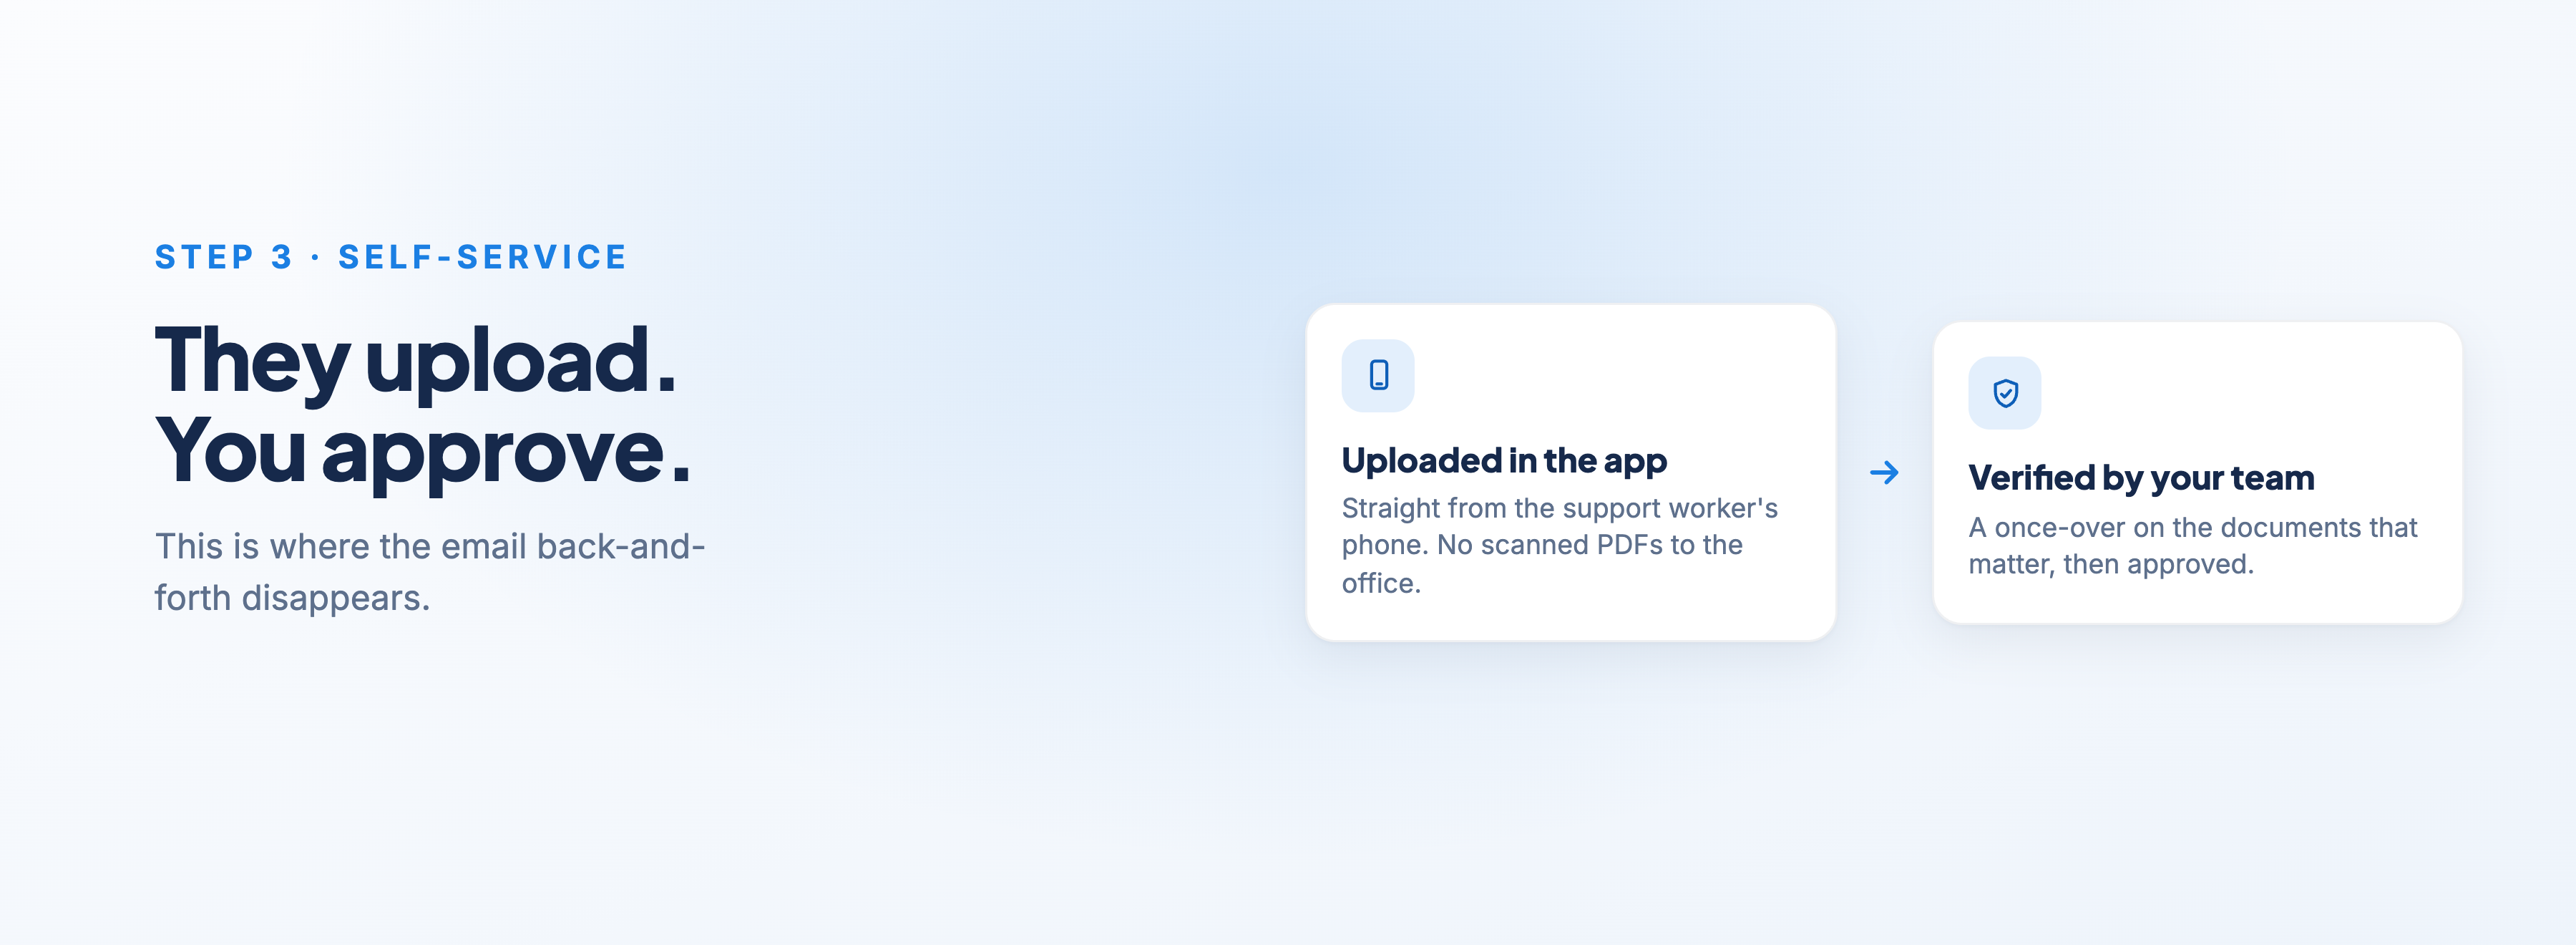
For any record type you've set to self-service, the support worker can go straight into the Astalty app and upload their documents themselves. No emailing scanned PDFs to the office, no one manually filing them.
Office staff with browser access do exactly the same thing, submitting straight to their own profile.
Where you've turned on verification, the document lands for your team to give it a once-over.
Someone checks it's the right document and matches what you're collecting, then approves it. So you still get that layer of control on the things that matter, without any of the chasing.
Step 4: Let notifications do the follow-up
This is what makes the whole thing run itself.
User Record Notifications let you set custom alerts so the right people know what's happening, without anyone having to remember to check. You can send alerts to:
Whoever's responsible internally (say, your HR person or a specific user group)
The staff member themselves (the record owner)
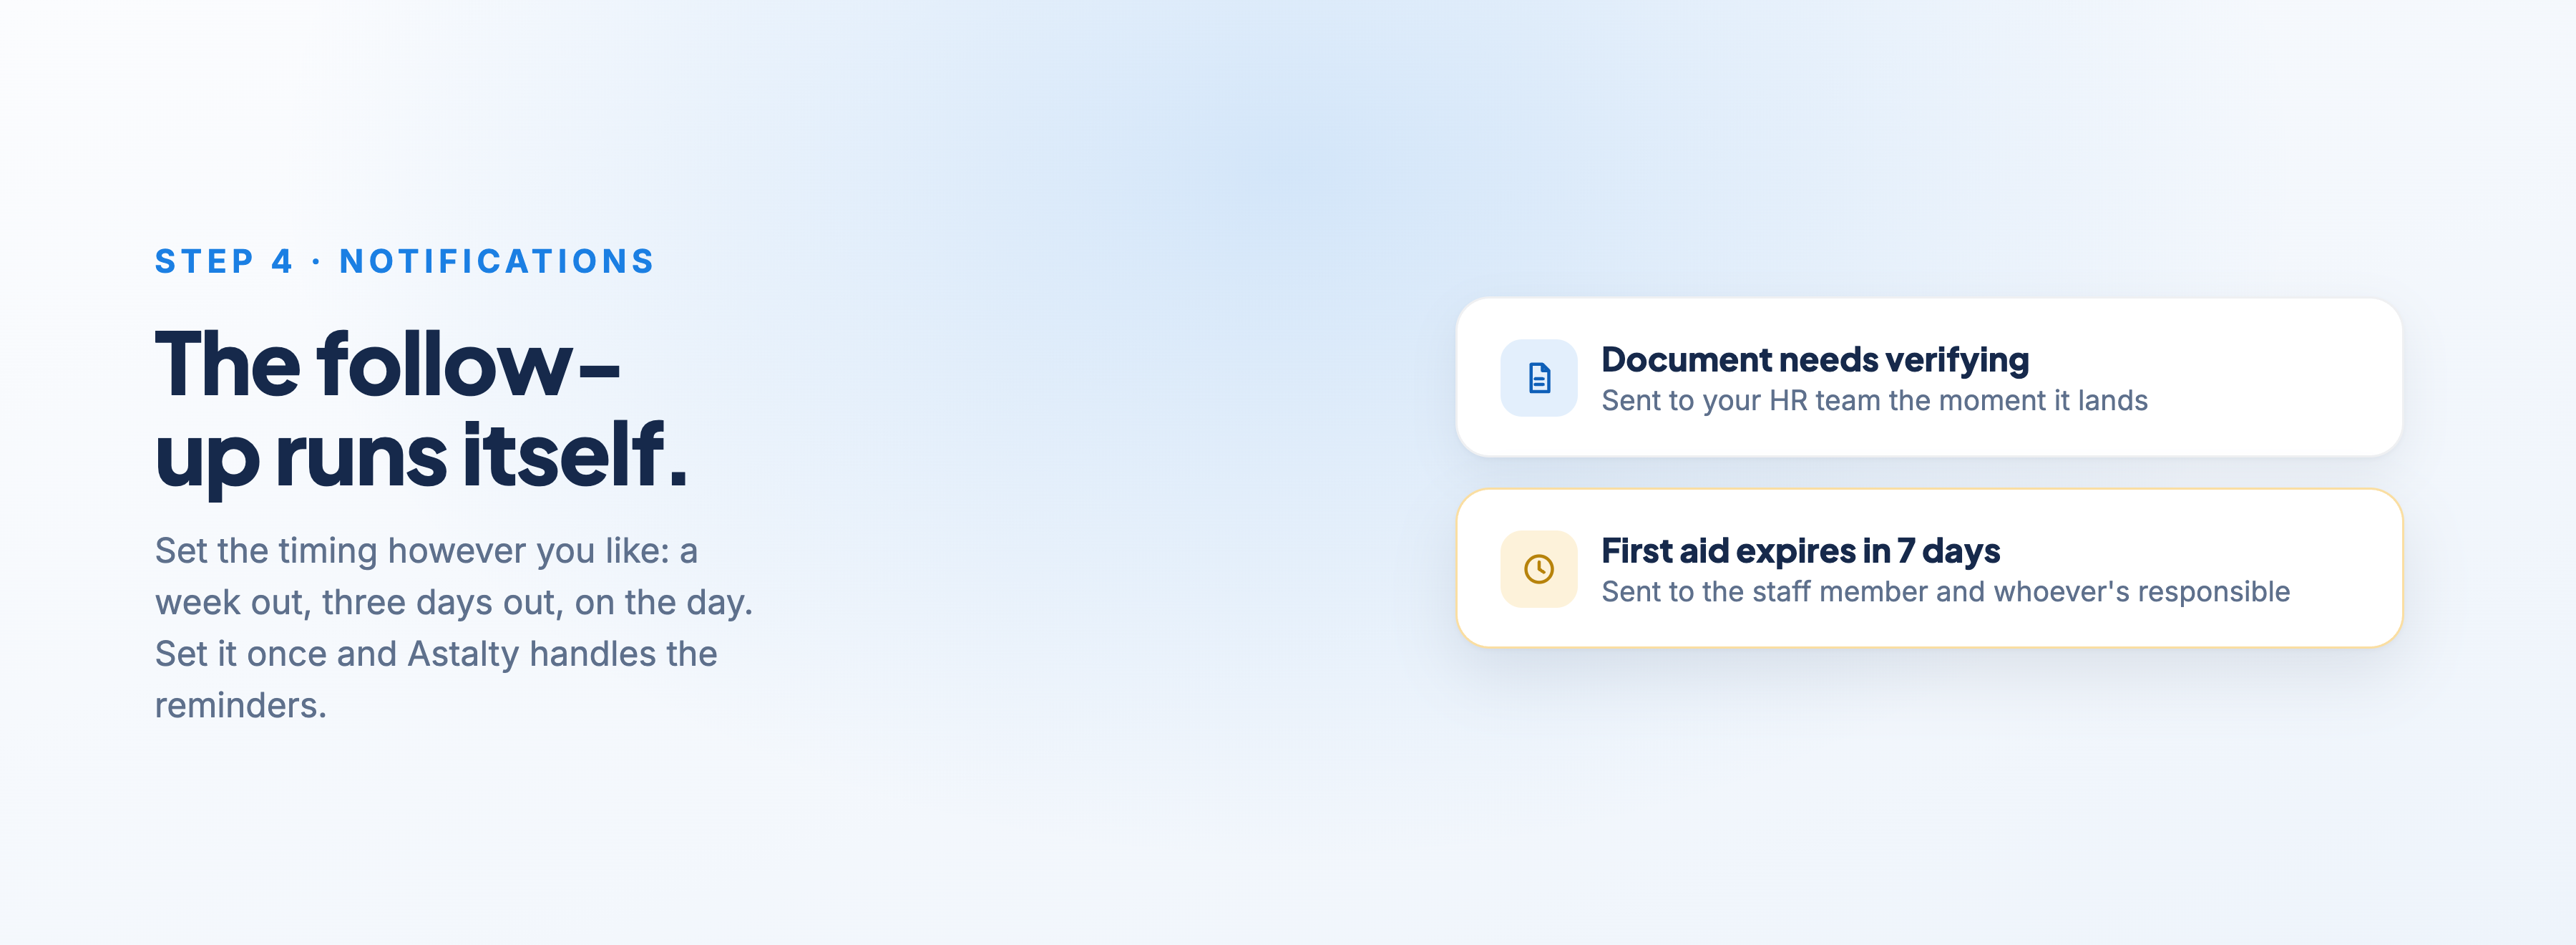
You can fire a notification when a document needs verifying, and separately when a document is about to expire, and you can set the timing however you like, a week out, three days out, on the day. Set it once, and Astalty handles the reminders from there.
Step 5: Contracts and position descriptions, built in
While your new starter is uploading their documents, you're getting their employment paperwork ready, and you can do that in Astalty too.
You can build custom templates that live inside the system. Different position descriptions for support workers versus support coordinators. Different contracts depending on how someone's paid. Set them up once with placeholders, and when you onboard someone, the template pre-populates with their details.
From there you send it for signing directly from Astalty, and once it's signed it comes straight back and sits against their record automatically. No Word doc, no separate signing tool.
Step 6: Train them on the app
Getting documents in is one thing. Getting a new support worker confident in the app is the other half of onboarding, and you don't have to build that training yourself.
We've got a free course, Astalty for Support Workers, that walks them through the whole app: managing shifts, clocking in and out, claiming travel, case notes, forms and incident reports, updating availability, and uploading their own documents. It's about half an hour of video, broken into short lessons.
Point every new support worker at it as part of onboarding and they'll be up to speed without you having to sit them down one by one.
Bringing it together
A clean support worker onboarding in Astalty looks like this:
Define your record types and who needs what
Invite the user
They upload their own documents, you verify the ones that matter
Notifications keep everyone on track
Their contract and position description go out and come back signed
They complete the support worker course and hit the ground running
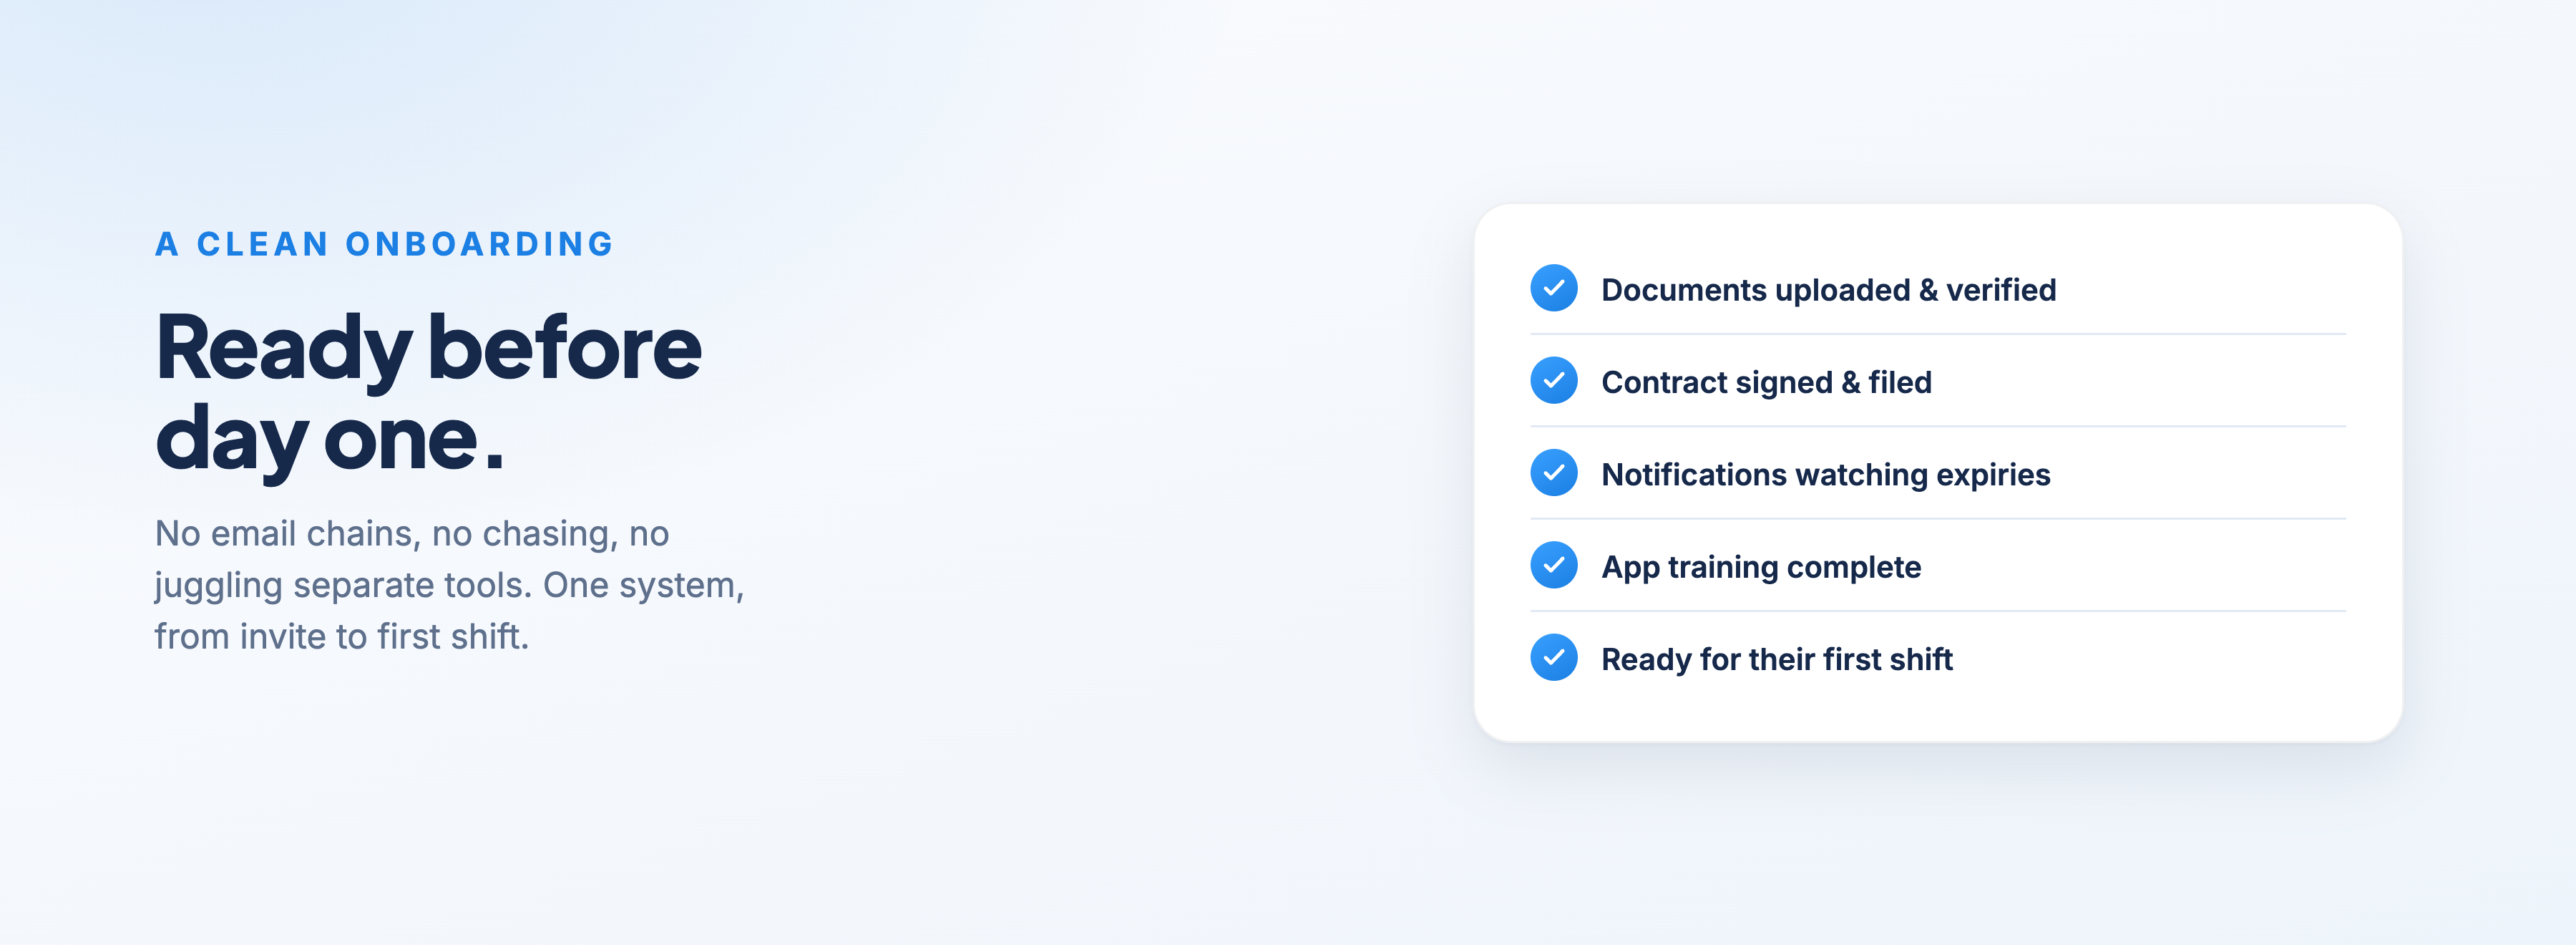
No email chains, no chasing, no juggling separate tools. One system, from invite to first shift.
If you want a hand setting your onboarding up this way, just reach out to the Astalty team support@astalty.com.au
